
Moving Floor Area |
Items |
 |


 * *


 * *


|
|---|
NOTES:
1) This is possibly the most straightforward area in the entire game. But that doesn't mean it will be easy; you just won't get lost as much. I have numbered the rooms in the sequence you should explore them. This is the quickest way to get everything without having to go back and forth on the "moving floor".
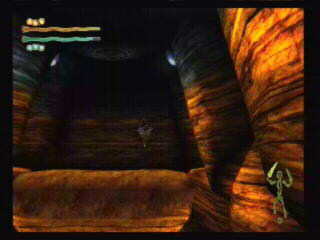
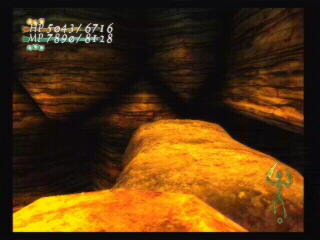
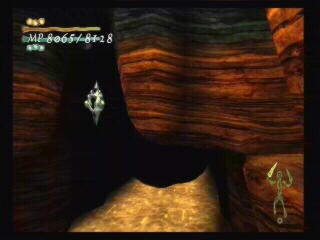
2) The "moving floor" consists of a series of floating platforms that are carried across wide canyons by a current of hot air. You can control the flow of air via switches that reverse its direction, thus reversing the direction of the platforms.
3) There are 2 shops in this area and for good reason. There is just too much to carry around. Make sure you put away as much as you can every chance you get. And also save your game every time you are near the Save Point.
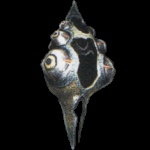
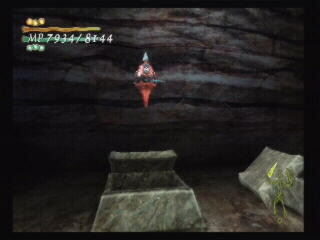
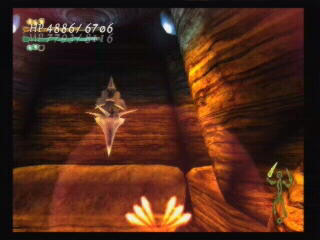
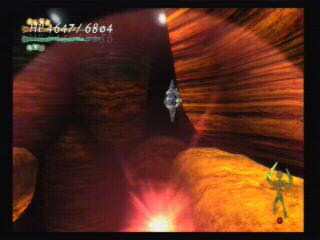
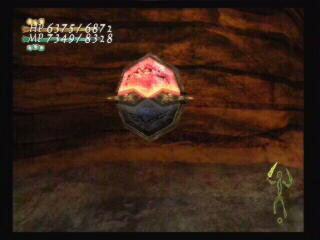
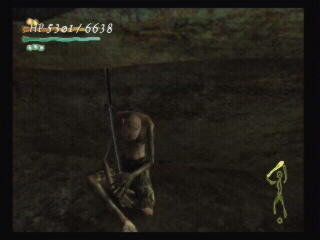
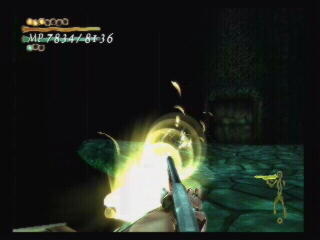
4) The creatures that roam these canyons have different attack patterns even though they all look alike. Some creatures explode when destroyed, taking you out with them if you’re too close. Other creatures shoot an energy beam from the distance, while still others shoot a bolt of electricity. And the ones that don’t shoot anything will try to ram you off the platforms. One thing is constant though; if something has "eyes", it can be hurt. The fastest way to destroy the creatures is by taking out their spikes.
5) Random drops include ONLY the equipment marked with a * .
![]()
VISUAL GUIDE:
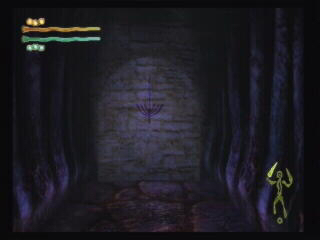
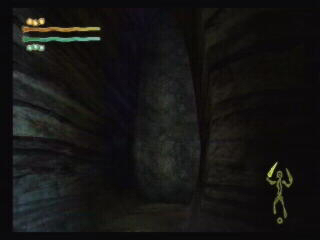
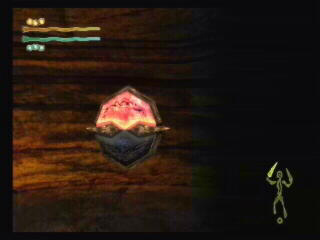
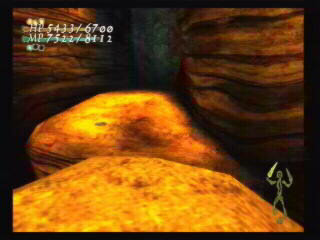
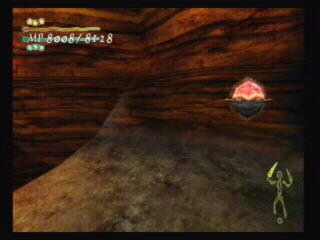
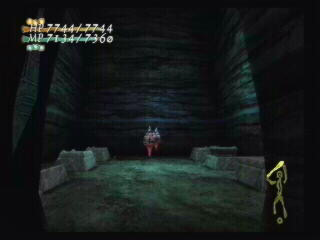
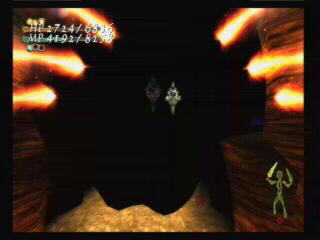
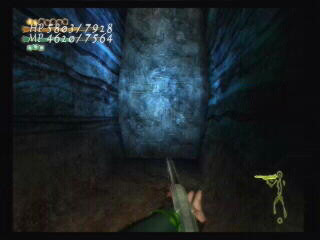
After you exit the boss room in the Dense Fog Area, follow the cavern until you reach a door with a purple symbol on it. Open the door and continue following the tunnel until you reach a larger door. This door will open automatically as you approach. Keep going until you reach the edge of a cliff.
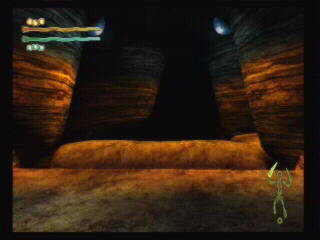
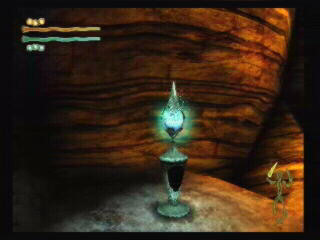
Take a second to look around. Notice how the platforms are moving, their speed and what is making them move. Also notice a switch on the cliff to your right. You will find several of these switches. This is how you can control in which direction the platforms will move. Once you're done checking your surroundings, turn around, go to the Save Point and save your game.

Go back to the switch side and get ready to go on one of the platforms. Stay close to the right side of the platform because you will be getting off at the first ledge. Step off the platform as soon as you reach the ledge and continue up to the door which will open on its own. You will be in room number 1, the Shop room. Sometimes there is a creature in here, but not always.

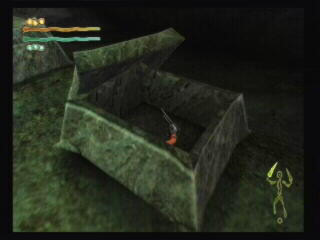
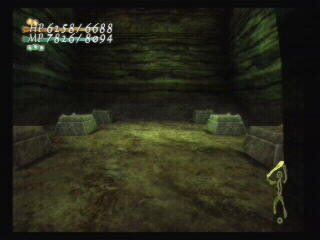
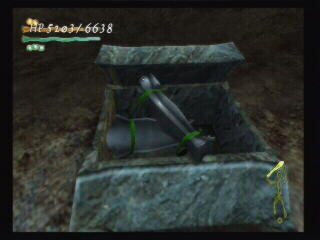
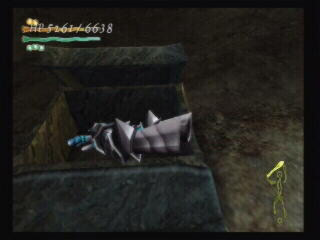
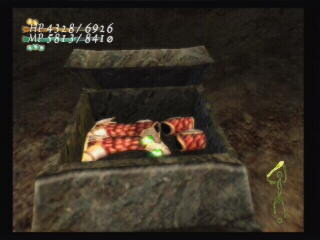
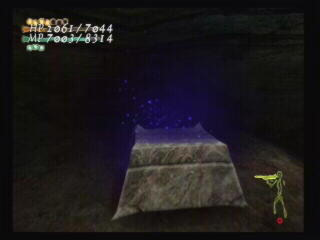
Each one of the rooms is laid out exactly like this one, with the exception of the Shop pedestal. There are six chests in each room. Some chests are broken. Closed chests can contain items and equipment. Some of them are booby-trapped and will explode when they open, while a few have enemies hidden inside; so keep that in mind. For this walkthrough's purpose I will be referring to chests numerically and in a counter-clockwise direction.
The first chest in this room is broken. The second has a Super Black Hawk revolver. The third is booby-trapped. The fourth has a Health Potion and the sixth has a Devine Vessel. Pick up everything, use the Shop and go back to the moving platforms.
Step on the first platform that comes by and stay close to the right edge. Step off the platform at the next ledge and go inside room number 2.
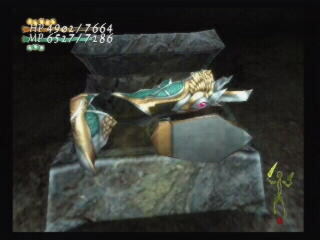
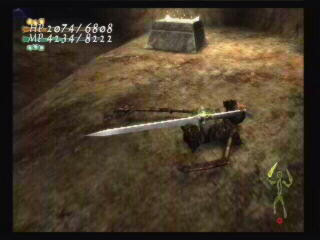
Most of the chests in this room are either broken or empty, but there is treasure scattered all over the floor. You will find a Cune inside the first chest and nearby is a Long Sword with a red jewel encrusted on its blade. Another Cune is next to the second chest and two more Cunes are behind the sixth chest.
The fourth chest is closed and there is a creature hidden in it; so you will get a surprise when you open it. (This brought back KF2 memories). This particular creature is the exploding kind; so be careful when you destroy it.
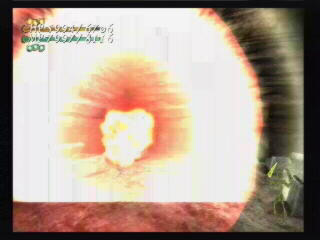
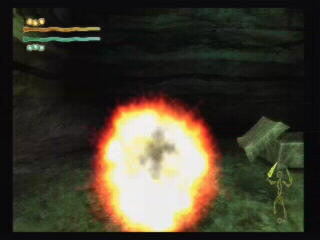
After you are done here, go back to the moving platforms. Get on the first platform that comes by and stay close to the right edge. Destroy the creature at the end of the canyon with a couple of spells and step off the platform onto the next ledge.

Pick up a Cune from the floor and walk up to the door. Wait for it to open and go into a smaller canyon with a large moving platform. Step on the platform and walk all the way across until you reach the end of it. Get ready to step off the platform at the only ledge available on the far right side of the canyon.
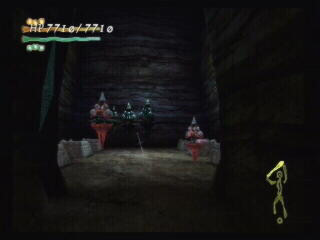
Go up the path, wait for the door to open and go inside the next area, which is a large canyon much like the first one you found. There is another Shop here. Use it to put away everything you found and then move across the ledge until you reach the switch. If there is a creature floating nearby, destroy it from a distance. Stand close to the switch and face the canyon. Wait for a platform to come out, step on it and get ready to step off at the first ledge on your right. Go inside room number 3.
There are six more chests in here; so you know what to do! The only other thing you need to know is that when you go back out of this room, there will be a creature waiting just around the boulder. Try to shoot the creature from the doorway. Otherwise it gets really tricky trying to avoid the boulders and the creature at the same time.
As soon as you step on the platform, walk forward to avoid the boulder. As soon as you clear that boulder, move back to avoid the next one. After that, ride the platform to the safety of room number 4.

You should get the idea by now. When you reach the end of a canyon, push forward on your controller to step onto the ledge, or else you will fall off the platform. Whenever you want to reverse the directions of the platforms, just throw the switch and that's it. Now go explore every single room following the sequence in which they are numbered on the map and enjoy your journey. Don't forget to use the Shops and the Save Point.
***Scroll down for the last section of this area***

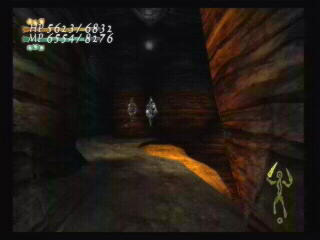
Once you are done exploring rooms 1 through 9, you will be ready to head into the tougher side of this area. Make sure your game is saved before proceeding any further. Throw the switch to reverse the direction of the platforms and ride the first one you can get on all the way to the far-left ledge of the first canyon. Step through the door and destroy the creature floating around before getting on the next platform. Ride the platform to the other side and get ready for hot and heavy action. This last canyon is full of creatures. The worse part is that you have to defend yourself from the comfort of your platform. It's a long ride to the far end of the canyon and staying alive isn't easy.
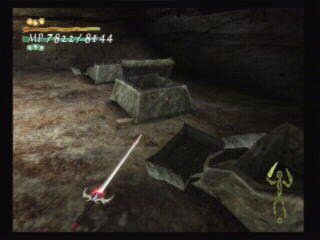
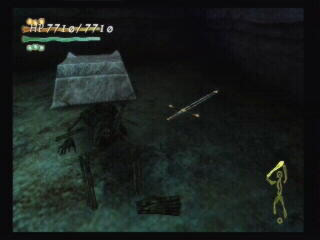
You will want to make a quick stop at small room number 10 on the right side of the canyon. You can destroy some of the creatures from here and at the same time pick up some nice items. There is a sword on the floor next to a skeleton and two chests that look a little suspicious. One of the chests is enveloped by light, while the other is surrounded by darkness. Hmmm...what could possibly be in them? I'll let you find out on your own. The contents are probably the most powerful items in the game.

After you get everything, ride the next platform to the end of the canyon. You might have to destroy a few more creatures that are floating around. You can throw the switch now to reverse the platforms or wait until you finish the next room. It's up to you.
Once you're done, go toward the door of room number 11, but DO NOT go in yet. You will hear a crackling noise and you will find its source when you open the door.
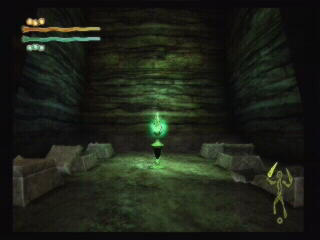
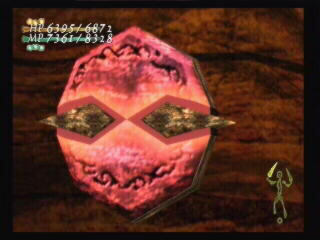
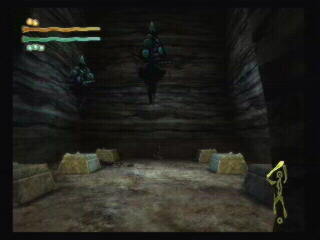
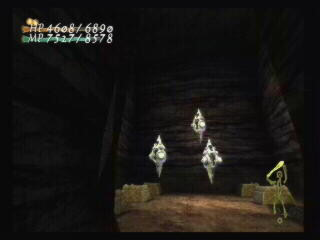
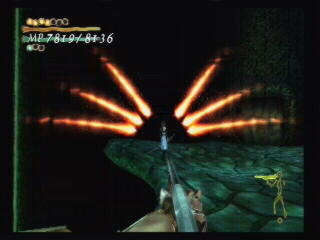
There in the middle of the room stands a pedestal surrounded by four small towers and electrical bolts are emanating from the ceiling. There are also three creatures attached to the walls. As soon as they sense you, they will go into defensive mode. Quickly back out of the room and let the door close.
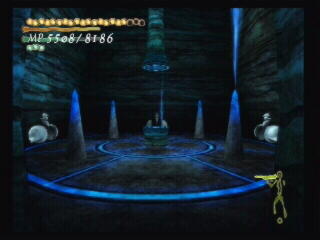
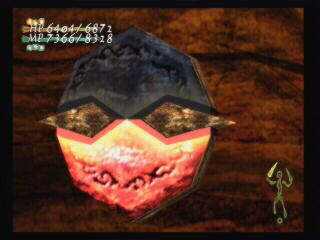
Equip your Caustic Ring of Fire and your AR-14 Rifle and then walk up to open the door again. Cast a spell as soon as the door is completely open. The spell will fly across the room and hopefully catch one of the creatures off guard. You can only take out one creature with this strategy though; so you will still need to go in the room to destroy the others. But now the damage you take will be less.
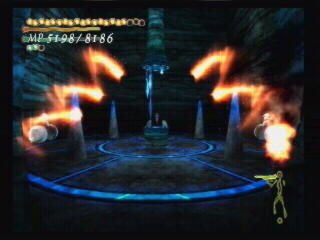
Walk up to one side of the room and stand in front of the creature. It will close its shell when you approach. Slowly back up until it opens up again. Aim the rifle and shoot as quickly as you can. A few shoots and spells will be enough to destroy the creatures. While your attention is turned to the second creature, the other one will keep damaging you with electricity, so keep your Health Potions handy. Once the second creature is destroyed, turn your attention to the last creature and repeat the strategy until it too is destroyed.
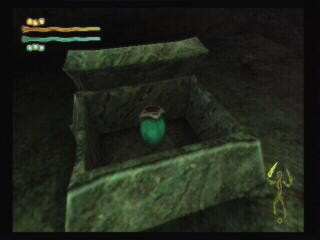
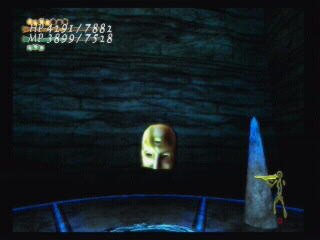
Once you clear the room, the electrical bolts will stop and you will find a Golden Mask floating above the center pedestal. Pick it up and equip it right away.

Now go back to the Save Point, save your game and backtrack all the way to the Elevator Room.
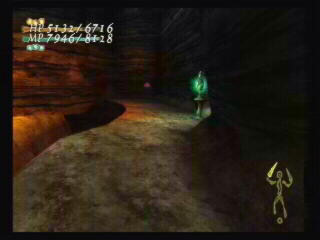
There you will find Auriel/Rurufon once again. If you are feeling lucky, you may want to take her on. She drops a VERY powerful ring when you defeat her. Whatever your choice, ignore the elevators when you are done and head toward the only other door you haven't opened yet.


 Equipment
  Creatures