
Silent Shore Area |
Items |
 |

 
|
|---|
NOTES:
1) The Boatman is either not meant to be killed or you don't have the right weapon at this time. I emptied 10 Bullet Clips and didn't even scratch him. A word of warning! If you are too close when you attack him, he will hit you over the head with his paddle...GAME OVER!
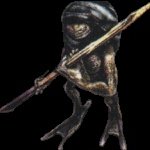
2) The other creatures in this area are "friendly". They are some sort of alien life form caught in the darkness of the abyss. All it takes is one hit for them to die; so be careful when talking to them. Don't press the wrong button. I've done it plenty of times.
3) This entire area is a series of narrow walkways connecting three tower structures. If you suffer from vertigo, this is not a good place to be. ;)
![]()
VISUAL GUIDE:
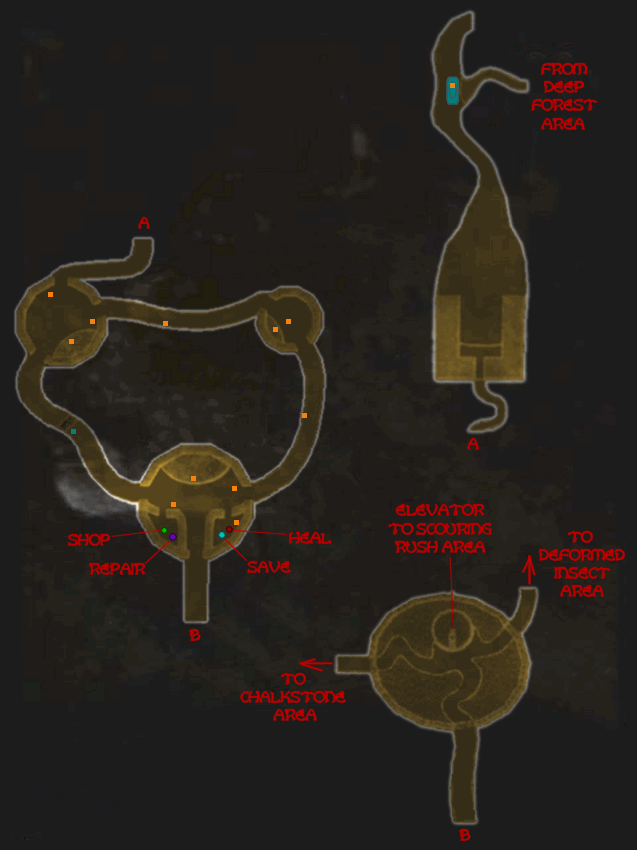
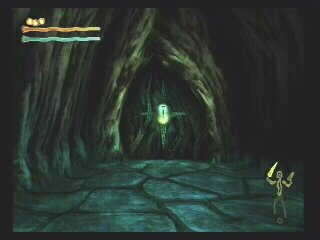
After the Boatman drops you off, walk towards the door. You will find yourself inside a narrow corridor. Follow it until you reach another door. When you open the door you will be in a very large open area with only a narrow walkway in front of you.


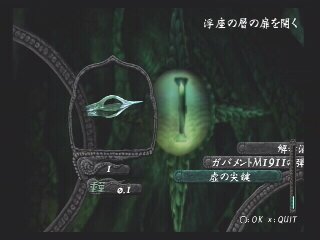
Don't look down; it's a long drop. Just follow the walkway until you reach another door. Inside you find the first NPCs. Talk to them and admire their work: Some sort of machine? It looks like the control panels on an alien space ship (a large platform with 7 floating headstones that project a hologram in front of them). There are two exits out of this room. Take the one on your left from where you entered. The right door leads to a trap.

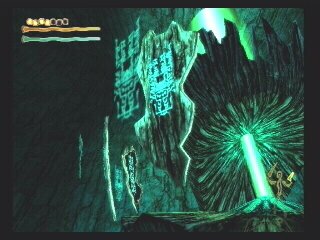

Once again you are on those narrow walkways; get used to them. There are many of them here. You will find another creature on your way to the next tower. Talk to him and continue on your way. The next tower has two more creatures and another one of those space ship control panels. There is only one way out of this tower. So go outside once more.


Again you will find another creature standing on the walkway. I wish I knew what they were saying. After you talk to him, keep going to the next tower. This is the place to be. From the entrance you can see four doors. The one closest to you (let’s call it door A) leads to a Save Point and the first Healing Spot. The next door (B) leads back outside. The third door (C) leads to a Merchant Shop and a Repair Shop. The last door leads outside to the walkway that has a trap on it. This is where you want to go first. Don’t worry; I won’t let you die.


Go outside and walk until you can see a Cune on the floor. Carefully approach and pick up the Cune. A part of floor next to the Cune crumbles to the bottom of the abyss. I told you I wouldn’t let you die…
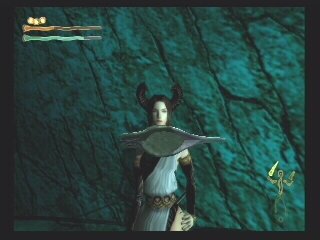
Retrace your steps back to the tower. Do what you must in here (heal yourself, repair your equipment, buy items). Make sure you talk to Auriel (Rurufon). She is in the Save Point room. Talk to her until she gives you the Key of Emptiness.


Once you are done in here, take door B. You will be on a shorter walkway. There will be a door a few steps away. It leads to a narrow corridor with another door at the end, but this door is locked. Not to worry! Use the key you got from Auriel. Open the door and go on to the Elevator Room…
The elevator ahead leads to the Scouring Rush Area, but you don't have the Elevator Key. So that leaves two other possible ways you can go.
The left door leads to the Chalkstone Area, where the enemies are tough at this point.
The right door leads to the Deformed Insect Area, where the enemies are just right...
So what are you waiting for? Let's go...


 Equipment
  Creatures