
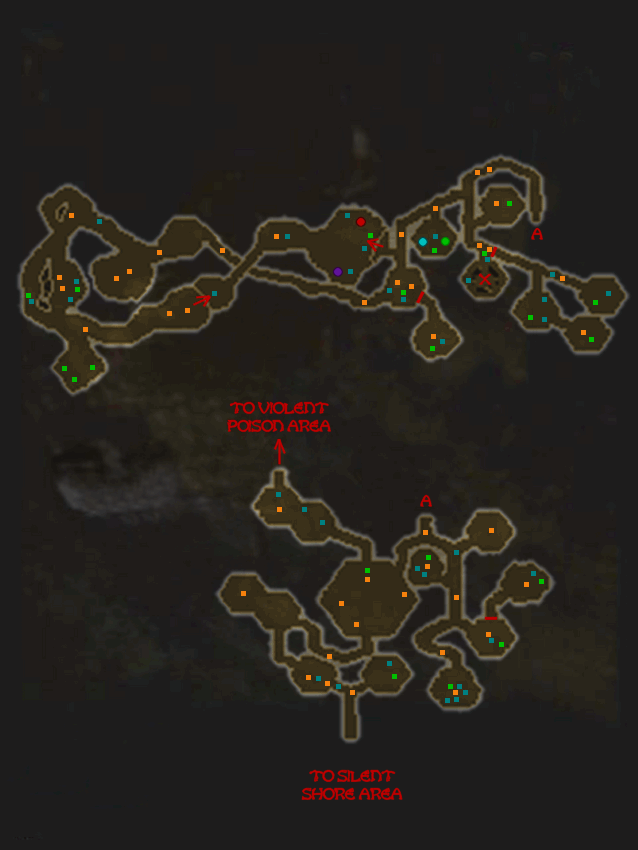
Deformed Insect Area |
Items |
 |


 * *
 * *
 * *


 * *
 * *
 * *
 

 * *


|
|---|
NOTES:
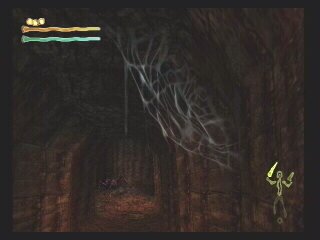
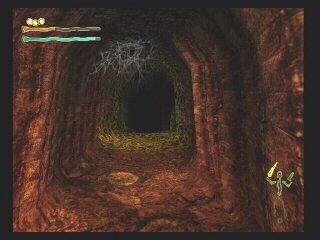
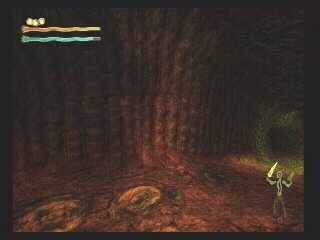
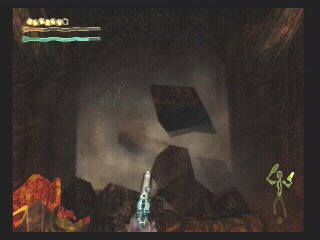
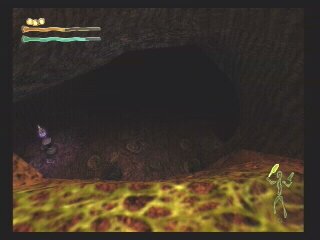
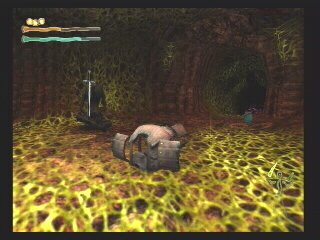
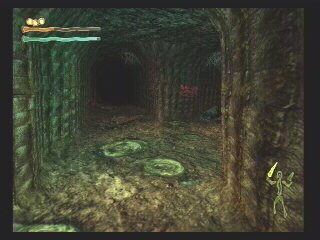
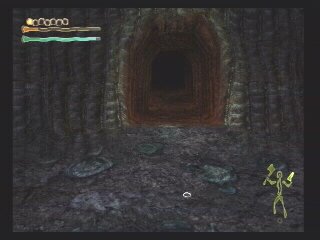
1) As you will soon learn, this place is tough. Not just on you but on your equipment as well. Your priority is to get to the Save Point but it's not an easy task. The entire place is a series of caverns and sometimes it is easy to miss an opening. One thing to remember: If it looks safe, there must be something in hiding.
2) There are three types of sealed doors in this area. You will know what kind they are by the glowing symbol on them. Each seal corresponds to one of the following items to be found (see the last 3 pictures on the Items List):
![]()
VISUAL GUIDE:
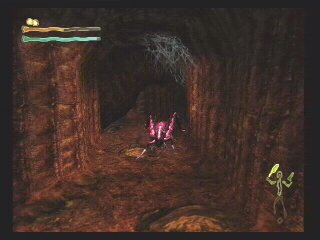
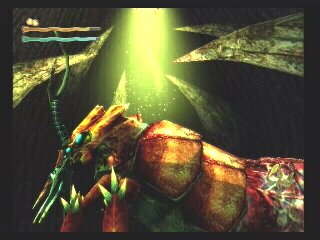
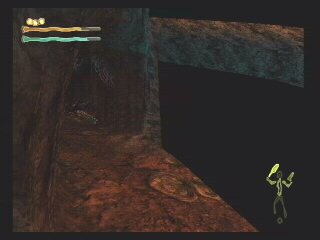
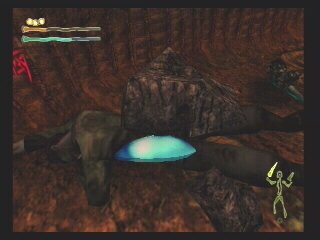
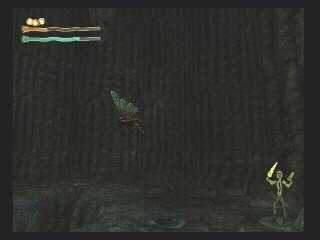
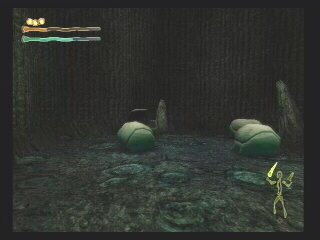
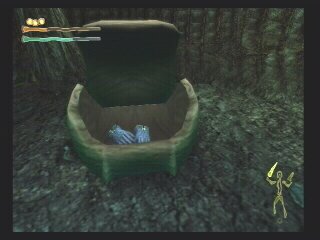
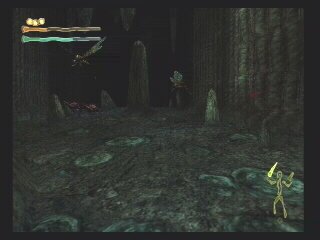
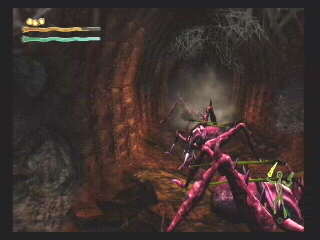
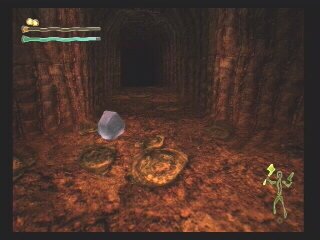
Upon entering this area you will see a bug rushing to get out of your way. It's just a cover. Soon the bug will turn around and start to bite you. Remember, the narrow passages are not the best place to go full-out on the assault routine. Once again you will be forced to use forward and back on the right analog stick. When you reach the first fork, to your right is a sealed door. Pay attention to the glowing symbol on it. To your left a blockage prevents you from entering the next cave. But it does not prevent the bugs from coming out. Get rid of them. One should drop an item that looks like a horn. It's actually an Insect Fang and once you have it, you will be able to open the "Fang Doors". Go back and open the sealed door. Destroy the carcasses on the floor to reveal the treasure: A Cune and an Amulet. Equip the Amulet; it adds 100 points to your MP, not that you need it right now.
Go back to the passageway and use your gun to destroy the blockage. Now you can enter the next cave. Pick up the Cune from the broken pod. The next pod is empty; so don't dull your equipment breaking it. Step up to the sealed door to break the seal. Open the door and continue on your journey, destroying anything that gets in your way
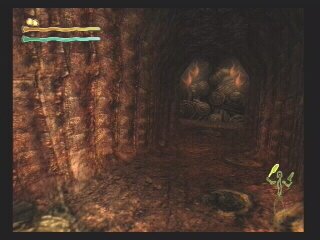
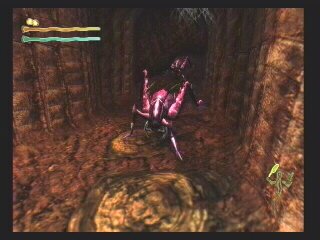
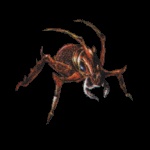
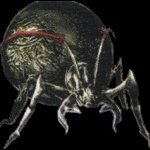
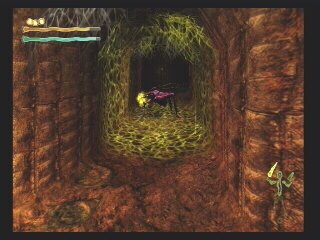
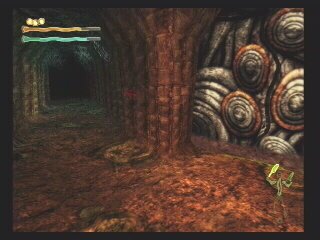
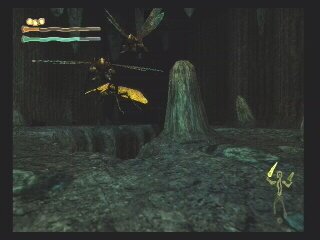
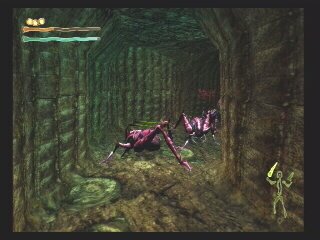
When you get to the next set of caves you will be rushed by five or six Crickets. (Don't mind my naming these guys, I have no idea what their real name is.) Dispose of them, but don't let them corner you. They seem small enough, but in great numbers is great strength. The pods in the next room have more of those buggers hiding inside.
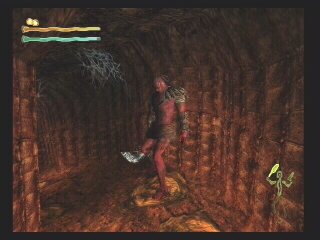
Once you clear the rooms, take the left opening and follow the passageway until you get to another blockage. As you approach it, a Cricket jumps out of the wall. Kill it and break the blockage with your gun. Keep going until you meet a tough-looking native. (I dare not name him; he might be offended.) DO NOT hassle him. Just be polite, talk to him and be on your merry way. Next stop, the Termite Queen...
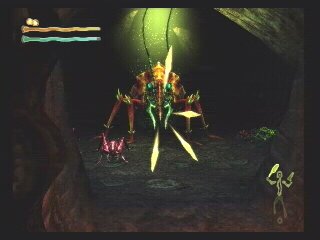
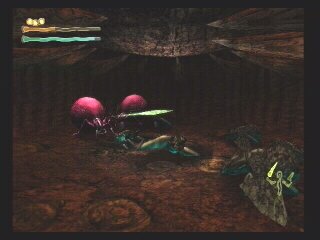
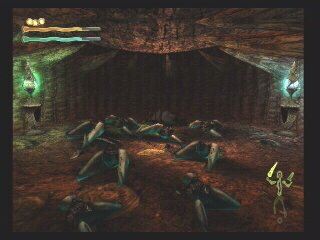
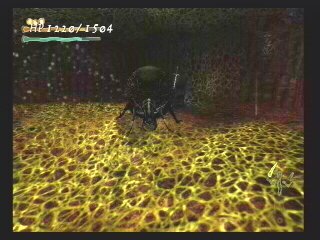
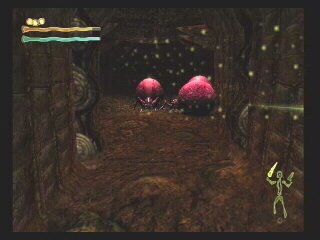
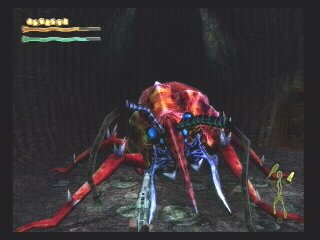
As you open the sealed door, you see the big, bad Termite Queen, munching on one of her disciples. Don't become her next meal. There is nothing you can do to the Queen at this point; so stay away from her. Actually, you can't stay away because you have to walk right next to her to get to the next room. Here is what you need to do:
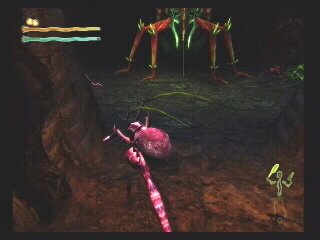
Take a few steps into the room, just enough to make the other critters come at you. Be careful as the Queen likes to shoot you with poison darts. After you kill two of the little bugs, rush to the left side of the room and wait for the Queen to attack. If a critter comes at you, kill it. If not, rush over to the right side of the room without hesitation. Dispose of the last little bug and open the sealed door on the right side of the room. There is another entrance directly behind the Termite Queen. Ignore it for now.
**Wipes sweat off forehead*** Made it through, this time. But you will meet up with the Termite Queen again.
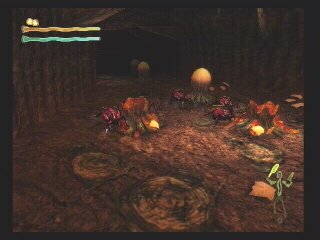
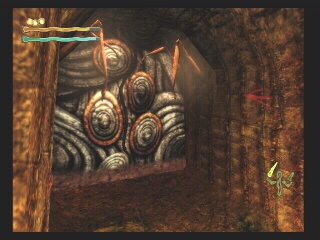
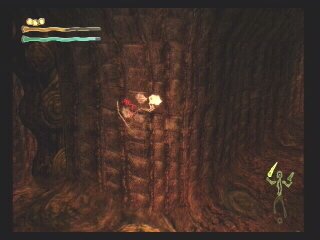
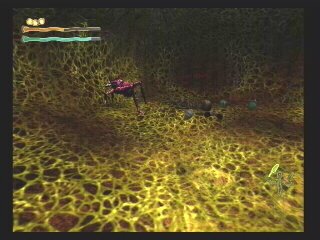
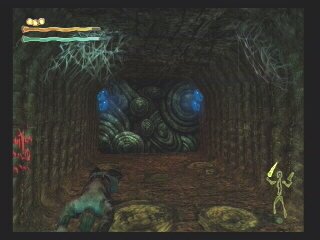
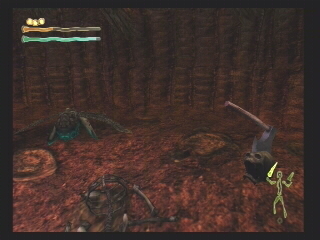
Follow the passage until you get to another blockage. You know what to do. There is a fork on the road up ahead. Notice that the sealed door on your left has a different symbol on it. Time to find the item that unlocks it. Turn right and go onto the web-like substance on the floor. A big Cricket is waiting for you and your feet seem to be stuck to the ground. Don't panic! Destroy the Cricket with your gun if you have to. Continue on until the next fork. There is a carcass on the ground. Break it and get the Cune inside. There is a map scribbled on the wall. Take a look at it. The room on your left doesn't have much, except for one single bug, a pile of bones and a message on the wall. Don't bother with the carcasses in here; there is nothing in them.
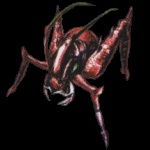
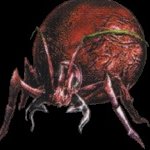
Leave that room, turn left at the fork, and continue until you get to another blockage. Destroy it and keep going to more of that sticky web on the floor. Turn right at the next fork and open the sealed door. The room has many carcasses on the floor and two fat Ants. The Ants like to paralyze you if you get too close and you have nothing that cures paralysis at this point. They also like to shoot you with poison from far away; so be careful. After you kill the Ants, destroy the carcasses. There is a Healing Potion, a Staff and a Cune inside them. Sometimes these ants drop the Insect Antenna and a Leather Armor; so watch the floor for them. Once you are finished in this room, go out and turn right.
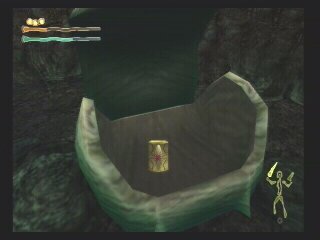
The way is complete blocked up ahead, but you can still destroy the blockage with a well-placed gunshot. Continue up the sloped tunnel to another fork. Hmmm, which way to go? Let's go right. There is a long stretch of tunnel covered by a sticky web, making your progress somewhat slow. To top it all off, there are two large Crickets waiting for you and two more break out of the wall. I think you can manage by now. At the end of this tunnel, there is another sealed door. Not a problem! Inside you will find a room full of goodies: Two Healing Potion, a Magic Potion, a pair of Gloves and a jar of purple liquid (Anti-Venom). All of these and only one little Cricket to guard them - a piece of cake! Pick up the items, read the message on the wall and turn back around.
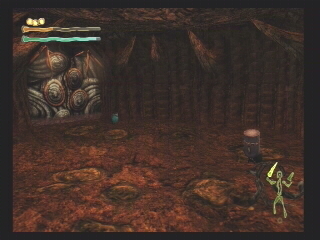
Go back the way you came and turn right at the first fork. There are two more blockages up ahead. The next room you come to has a bunch of broken pods and one little Cricket. Dispose of it and search the broken pods for a Cune and a Green Jacket. If you look closely at the wall, there is a section that is darker than the rest. Shoot it and a new opening becomes available. Go in there until you reach another room covered in webs. Kill the insect and break the carcasses for a Bracelet and a Bullet Clip. The Bracelet provides a nice addition to your status count; so equip it right away.
You are all done with this side of the area. That's a good thing too, because by this point all my equipment was mangled.
Retrace your steps all the way back to where you found the sealed door with the Insect Antenna symbol. (If you are disoriented, just go out of this room, turn right, at the fork go right again, at the next fork stay on your right, at the next fork turn left and then turn right to the sealed door.) Don't bother killing any more creatures unless they are in your way and attack you.
Open the door and follow the arrows on the walls. You will reach a large open area (and I do mean open). There is nothing but a narrow ledge for you to walk on. If you hurry, you will be able to see a Cricket carrying another dead bug. Lunch time! Carefully make your way around the bend. The Cricket will drop its lunch and come after you. Another Cricket will join him; so make sure you are not fighting them while standing on this narrow ledge.
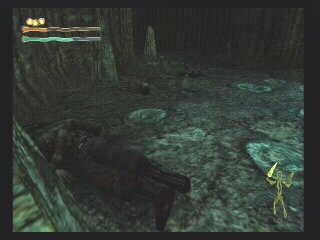
Keep going until you reach a fork, then turn right to the sealed door. Dispose of the critters on the other side and turn left to another sealed door. Finally, the Save Point, but first you have to clear the room of the carcasses. There is a Healing Potion in one of them and a Helmet next to the dead soldier. Pick them up and save your game. If your equipment is about to break, go ahead and buy something at the Shop. But don't over do it; the Repair Shop is just around the corner.
Go out of the Save Point room, turn left and break the blockage. Continue down the web-covered tunnel and turn right. If you are brave enough, you can jump off the precipice to get to the Repair and Heal Shops very quickly. (I had to because all my equipment needed to be repaired.) Otherwise, you have to go the long way, and it's a very long way.
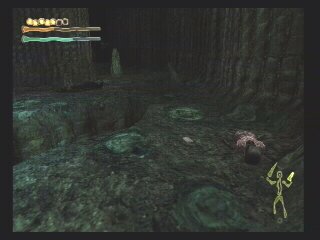
If you choose to jump, just make sure you have more than 200 HP. Search the dead body for the Insect Eye, pick up the Helmet and read the message on the wall next to the body. There is a Cune in the carcass closest to the Repair Shop and another Cune on the dead body by the Heal Shop. Now repair your equipment and trade what you don't need for some health. It's always a good idea to have your best equipment on before you trade anything for health. That way you will get the maximum amount of HP.
As you go up the ramp, you will find an Ant. Kill it and search
the dead body for a Bullet Clip. Continue up the narrow walkway and don't lose your step. About half way through you can see another narrow walkway down below. Line yourself up with it and jump. You will be attacked by two Crickets; so be careful.
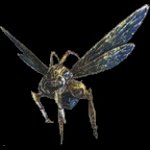
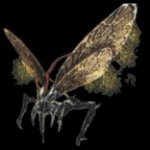
Go up this walkway until you reach a very large cavern. Just follow the arrows on the walls. Three Crickets and a fat Ant are fighting with a flying
pest. Sit back and watch the show. (That explains all the carcasses we've been finding.) They will attack you as soon as they are done. Dispose of them and continue up until you see a dead soldier. Search his body for a red Bag of Powder. In the next cavern there will be a new kind of enemy, the flying kind. Shoot them, chop them up, do what you need to do, but don't let them push you into the big hole in the ground. Go up to another cavern where a larger version of the flying creature is waiting. DO NOT let them get close to you. They like to rush you and quickly break your equipment. I know it's not easy, but try not to kill them while they are flying over the big hole in the ground. Sometimes the large Flying Grasshopper drops a pair of Iron Boots and the smaller ones drop a Bracelet. The Bracelet blends well with the ground; so it's very hard to see. The Bracelet is cursed, but you can still use it for trading. If these flying creatures die while over the hole, you will not be able to retrieve the items they drop.
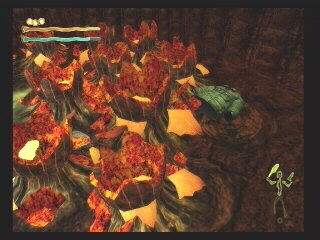
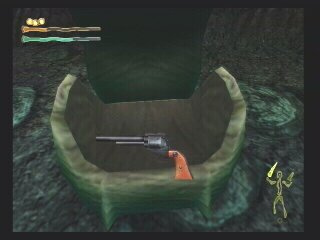
Once you kill the insects, search the two dead bodies and the two skeletons for a Bullet Clip, a box of Super Blackhawk bullets, a nice-looking, super-fast Dagger and a Leather Armor. There is also a Cune near one of the skeletons. Keep following the red arrows until you reach a room that has four strange-looking rocks. Wait! One of the rocks is open; so you know the rest can also be opened. Go ahead and give it a try.
Starting from the right you will find a pair of Blue Gloves, a Bracelet and the Super Blackhawk gun. It looks like the Dirty Harry revolver - very nice! Time to move on.
Go out of this cavern and turn right, always following the red arrows. You will fight two more small Grasshoppers ahead. When you reach a small cliff, go ahead and jump. Search the dead body for a Soul Pod. You will be back on the upper walkway that leads to the Repair and Heal Shops. If you need to repair your equipment and restore some health, do so.
If not, jump down to the lower walkway once again, but this time go the other way back towards the Save Point.
On your way back you will come to a room that has a Black Ant. Sometimes it drops an Armor. There are also a Healing Potion on the floor and a Long Sword on the dead body. Search behind the body for a Bullet Clip and check out the map on the wall. It points the way to the Save Point room. Go there and save your game.
When you come out of the Save Point room, go right and right again. At the next fork, go left towards the sealed door. Go in this room and kill the three fat Ants. I don't like these creatures; they are a pain. Pick up the Leather Boots from the floor and go back out. Follow the red arrows; they point to your left. Around the corner are two Crickets and a large Ant. There is a green section of wall here which can be broken.
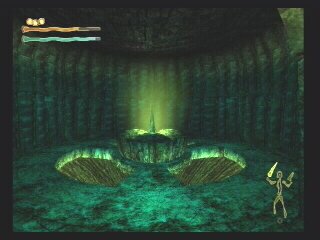
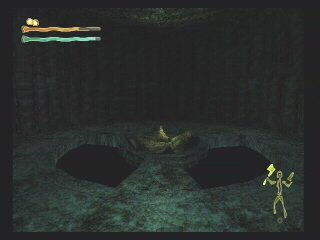
For now get the Flintlock Pistol next to the dead body and search the body for a pack of bullets for this gun. Read the message on the wall and proceed towards the sealed door. You will notice this door has a glowing blue symbol on it. Fortunately you already have the Insect Eye. Go ahead and open the door. Pick up the Healing Potion from the floor and study the contraption in front of you. Remind you of anything? That green powdery stuff falling down - I wonder where it all ends up...Oh ok. This is the power source for Queenie. DESTROY IT! Once you do so, the room goes dark. Time to go.
Go out of the room and turn right. You can hear noises but you can't see anything. Where the hell are they, you ask! Soon you will find out. As you pick up the Magic Potion on the floor, the walls come tumbling down and you will be surrounded by Crickets. Fight your way out. Go up to the sealed door, unlock it and go in. Inside you will find a Healing Potion in one of the carcasses and an Axe still stuck in someone's skull, poor guy. Go back out and at the fork turn left towards the dripping ooze. Another sealed door - no problem! There are a Rusty Helmet, a Healing Potion and a Bullet Clip on the floor. Pick them up and open the next sealed door. Clear the insect carcasses out of your way and pick up the round Iron Shield Armor from one of them . Dispose of the Cricket and head back outside. That's it, you are all done. Head back down to see the Termite Queen again. You might want to save your game first.
Oh what happened to poor Queenie? Is she dying?
You happened to her! When you destroyed the source of her power, you left her defenseless. Take a couple of shots and get rid of her once and for all. Pick up the Fire Ball Ring she drops. YEAH, MAGIC! Now go into the accessible entrance the Queen was covering. In the next room you will fight an Ant or two. Pick up the Cune and Healing Potion from the floor and don't worry about the pods. They are all empty. Go on to the next room and pick up the Purifying Crystal from the floor. Now you are ready for the next area. Did I forget to mention the name of the next area? Violent Poison! That's right! Better get ready... :D


 Equipment
  Creatures