
Scouring Rush Area |
Items |

 |


  * *
 * *


 * *
 * *
 * *


 *
* *
*


|
|---|
NOTES:
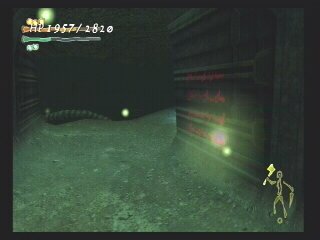
1) If you thought the last area was confusing, wait until you set foot in this one. The entire place is a series of corridors that connect to a large and circular central room. The frustating part is that you will find lots of obstacles that prevent you from moving along and force you to look for ways around them.
2) Just as before, you will need to put away some of your equipment or you will be overweight.
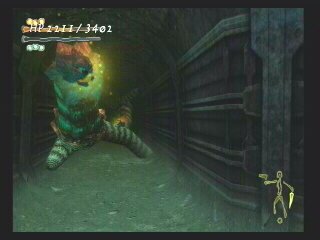
3) When you enter a room full of creatures, you'll want to take out the "Watcher Plant" (the laser shooting plants) first. They are solely responsible for keeping the other critters excited. As soon as the plants are gone, every creature will go into a state of hibernation. They will stop attacking you and just stand there, providing a great opportunity for you to destroy them.
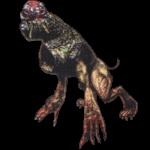
4) With the exception of the plants and humanoids, most of the creatures here are mutated versions of creatures you encountered in previous areas. The mutated creatures are more aggressive and they can regenerate body parts a lot quicker. If you want to destroy them quickly, aim for the abnormal growth attached to some part of their bodies.
5) Random drops include Cunes, Anti-Paralytic, Bullet Clips, Soul Pods, Divine Vessels, Anti-Seal Stones and Bolt Bundles, as well as the equipment marked with * .
![]()
VISUAL GUIDE:
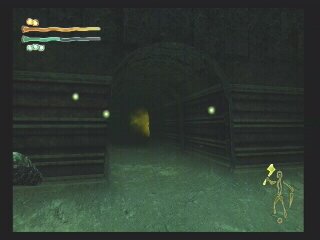
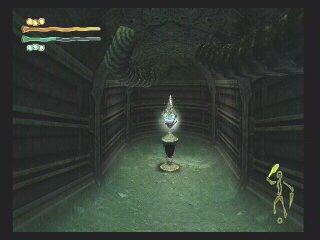
When you reach the Elevator Room you will find Auriel (Rurufon) standing a few feet away from the elevator door. Talk to her until she has nothing new to say. Go into the elevator, use the Amber Key, and go up to the second level.
Once you reach the second floor, as you step out of the elevator there is another elevator to your right. But you can't use it at this time; first, you have to find the key for it. There are also two doors. The one straight ahead is a one-way exit from the Cliff Area; so don't bother with it. The one to your right leads to the Scouring Rush Area and that's where you want to go next. But before we do that, walk forward about five paces while constantly pressing O. You will read Auriel's (Rurufon's) message again, even though she is not there. It's not important. I just though I would share this with you; it could be a programming error.


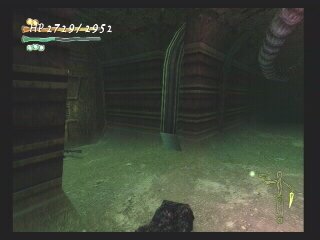
Now it's time to move on. Go to the door on the right, open it and follow the tunnel to another door. Notice the bluish symbol on the door. That's a subtle hint as to the key kept somewhere on this level. Open the door and follow the corridor to another door. You will be in the first Save Point and Shop Room. Save your game before you move on. You might want to take a look at the Shop's inventory and buy a couple of Anti-Paralytics if you don't have any, just in case.
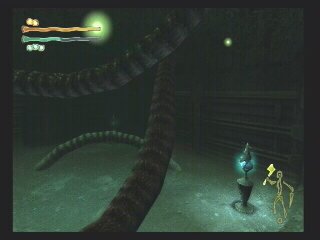
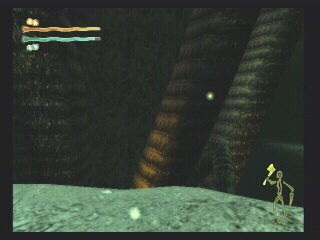
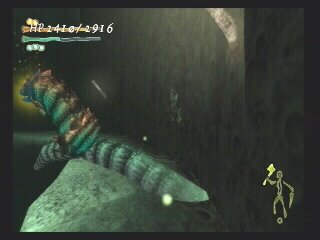
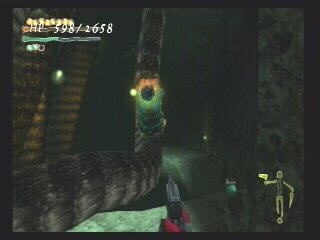
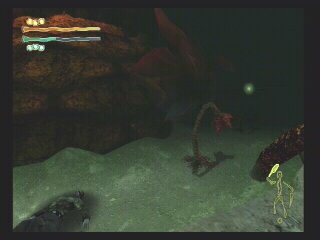
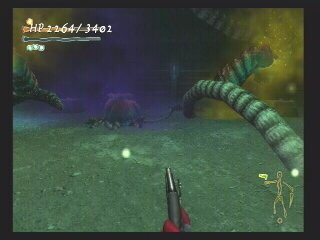
Also notice what appears to be some sort of roots. This entire area is full of them. Most of the roots can't be destroyed; so don't waste your time trying. But the roots with a poison-spitting pod attached to them can be destroyed. Those roots are more of an obstacle rather than a real enemy. Just wait for them to stop spewing their poisonous pollen and then move in and hit them once. They'll be gone along with a large section of root that is usually blocking your way.


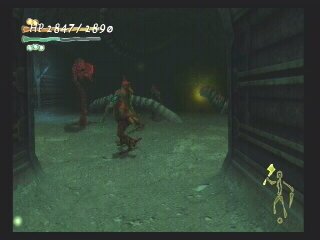
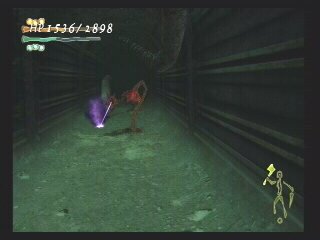
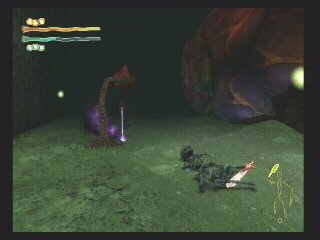
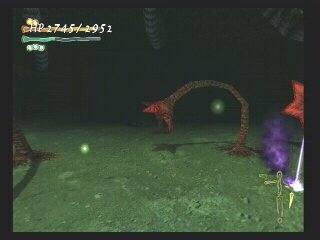
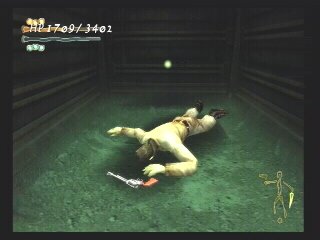
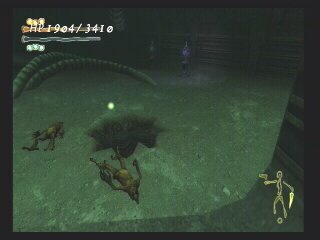
For now take the door next to the Shop and exit this room. Stop for a second and look closely at the threshold at the end of the corridor. You can see shadows moving back and forth; so get ready. Equip the long axe you found in the previous area or some other kind of chopping weapon, as those seem to work best around here. Carefully walk forward until you can clearly see the enemies: A Mutant Gapu and a Watcher Plant. The Watcher Plant will shoot a laser beam that follows you wherever you move; so be careful. Let the Mutant Gapu chase you into the corridor and then dispose of him. Wait for the plant to fire, then move in close and chop it to pieces. Keep your eyes open for random dropped items; some are very hard to see. After you destroy the plant, search the dead body for an M14 Clip and then face the exits and take the corridor on the right to get out of this room.

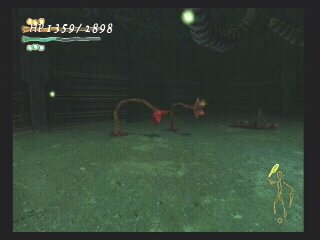
Two Mutant Gapus and a Watcher Plant are waiting in the next room. If you move in quickly and destroy the plant, the Mutant Gapus will stop moving (remember note #3). Dispose of them and then notice the poison-spitting pod I mentioned earlier. Hit it one time and it will disappear, giving you access to a corridor. But before you go on, search the left corner of the room and pick up the Cune from the floor.


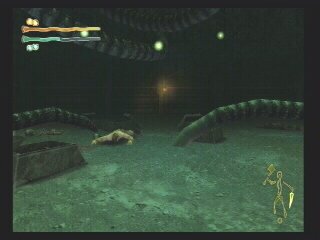
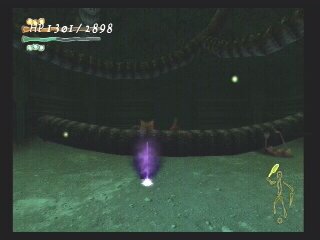
Now follow the corridor until you reach a door. Open it and you will be in a large room that has a ledge all the way around (be careful not to fall). Let's call this the "Central Room". There is a huge root system in the center of the room. Look at the size of that thing. No wonder the roots are all over the place. Turn right along the ledge and follow it to another poison pod. Destroy the poison pod and look at the map scribbled on the wall (map point A). It shows the first section of this area. Continue down the ledge until you reach the end. Enter the door and follow the corridor until you reach another poison pod. Destroy it and move on to the next room.

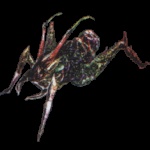
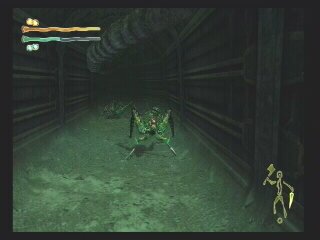
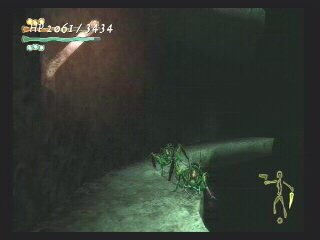
You have to be careful because a Watcher Plant and four Mutant Crickets are in the room. The crickets will chase you and attack in a group. They use a "corkscrew" jump attack which is very damaging to your equipment. They will also try to corner you. If they succeed, it won�t take long for them to kill you. If you are lucky enough to get next to the plant, you will not be able to destroy it before the crickets are on top of you. The best strategy here is to destroy the plant from far away by using a combination of guns and spells. Then you can move in and destroy the rest of the creatures. Once you clear the room, search the chest closest to where the plant was and get a Cune. Face the corridors and take the one on the right.


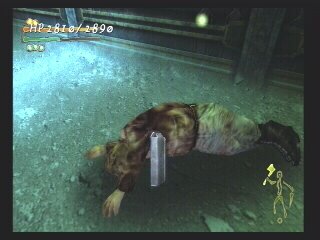
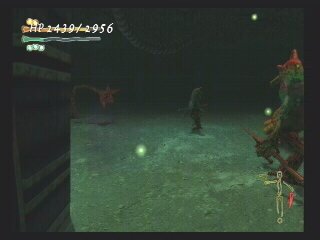
When you reach the next room you will find a man sitting on an empty chest (NPC on the map). Talk to him until he has nothing new to say. If you give him five Cunes he will give you a Rusty Key. You can use this key to open the padlock on the big door at the back of the room. However the room behind the locked door is EMPTY. There are a bunch of empty chests, three dead bodies with nothing on them and a closed chest that has an exploding trap. Is this entire hassle worth wasting five Cunes? At this point your guess is as good as mine. The only other thing I found in the locked room is a message written on the floor next to one of the bodies. Please note that if you kill the man after he gives you the key, he will drop a Water Stone, which Auriel (Rurufon) will trade you for a Soul Pod. Auriel (Rurufon) will take the stone as soon as you talk to her.
However, killing the man might have some consequences later on. Also be aware that if you go in the locked room before you kill the man, he will not be there when you return. Lots of choices here! :)


Whatever choice you make, once you are done take the door across from where the man was and exit the room. Follow the corridor, kill the crickets along the way and continue until you reach the ledge at the end of the corridor. Shoot the poison pod above you and pick up a Cune and a Health Potion from the floor. Now turn around and go back the way you came until you reach the ledge where you found the map scribbled on the wall. Continue up this ledge, bypassing the first door on the left. Shoot the poison pod above you and continue until you find a body on the ledge. Search the body for a Cune and enter the next door on your left.

Follow the winding corridor until you reach a room with a Watcher Plant and four Mutant Gapus. If you are able to, destroy the plant from far away. If not, let a couple of Mutant Gapus follow you into the corridor and destroy them. Them move on to the plant and the rest of the creatures. When the room is clear, take the door on the right side of the room and follow the corridor until you see a message written on the wall. Go down the ramp to the Save and Repair Room. Go ahead and get some repairs done if you need to and don't forget to save your game.

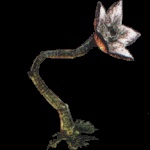
Ignore the large flower in the middle of the room for now. Instead, search the corner wall next to the Repair Shop and a secret door will slide open. Follow the corridor to a room with three Mutant Gapus and a Watcher Plant. Destroy them all and search the chest for an amulet. Turn around and take the door straight ahead from the chest. Follow the corridor until you reach a dead end. Search the wall and another secret door will slide open. At this point you should recognize the room on your right since you just made a big U-turn. Now search the dead body in front of you to get a Cune.

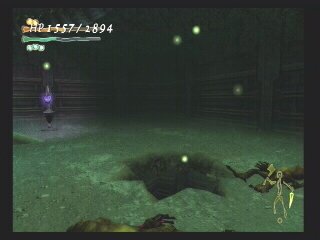
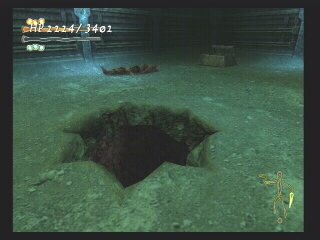
On your left is a corridor that leads to a room full of Watcher Plants; ignore it for now. Instead, go ahead and jump down towards the large flower in the middle of the room (on your right)(map point B). The flower is covering a hole in the ground; so go ahead and destroy it. When the flower is gone jump down the hole. You will land in a small room that is blocked in all directions. The only way out is another hole with a ladder. Go ahead and take the ladder down to the lower level. Pick up a Cune from the floor and continue down this new corridor, destroying all the Watcher Plants along the way until you reach another ladder that will take you up.

Follow the corridor that is not blocked until you reach a large room with two Watcher Plants hiding behind a long root. Ignore the plants for now, take the corridor on your left and follow it until you see another map scribbled on the wall. Continue until you find a dead body lying on the floor with a Saber stuck through it. Take the sword and destroy the poison pod in front of you. Now turn around and go back to the previous room. The root will now be gone, allowing you to destroy the plants. Once the room is clear pick up the AR-15 Rifle from the floor and search the dead body for a Cune. Go down the corridor closest to the body until you reach what appears to be an empty room.

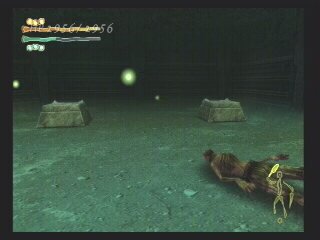
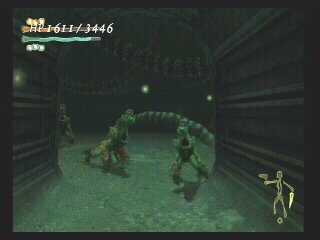
As you step into the room, three Mutant Hyenas will drop from the ceiling. Destroy them and search the dead body for a Soul Pod and the chests for a Scale Armor and a Spider Crown. Equip these right away. The armor adds some great numbers to your attributes and the crown regenerates MP.
Now go back to where you found the body with the Saber stuck through it. Ignore the corridor that leads to the left for now and follow the corridor you are on instead until you reach a white pod. It's a Teleport Pod that will take you to a new part of this area. Stand in front of the pod and press O to use it (warp 1 on map). You will be transported to a new corridor.

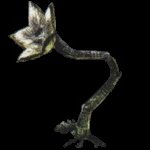
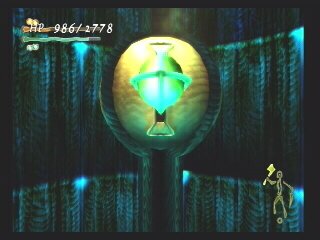
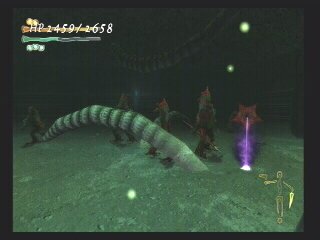
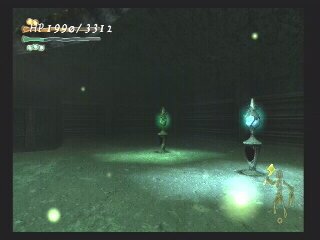
Follow the corridor until you get to a pile of bones and a Cune on the floor. Remember this spot; we'll need to return here later. Pick up the Cune and continue down the corridor until you reach a red door. Open it and you will find yourself on a ledge at the bottom of the "Central Room". This is the room where the Giant Plant, the boss of this region, is found. Search the corpses lying around the room for a couple of Cunes, a Fire Ring and a Broad Sword. Destroy all the Watcher Plants and get ready to battle the boss. Fortunately she is very easy since she doesn't move at all. All she'll do is open her giant eye and shoot out some darkness spray. Time to either test out your new AR-15 Rifle or just wait until she closes her eye and hit it with your longest sword.

Once the Giant Plant is gone, go towards the back of the room and look for a chest that has an amulet in it. Now it's time to go back to the corridor where you found the pile of bones earlier. Search the wall to the left of the bones and a secret door will open. Follow the short corridor to a room full of Watcher Plants. Make your way around the room, killing one plant at a time. Keep your Anti-Paralytic handy and don't let your equipment break. Once you clear the room, search the chests for a Chain Mail and a set of Leg Guards. Also search the bodies. One has a Luger Clip and the other has a mace on the floor next to it. When you are done picking everything up, take the door between the dead bodies and follow the corridor to another Teleport Pod (warp 2 on map). Use it to go to a new section.

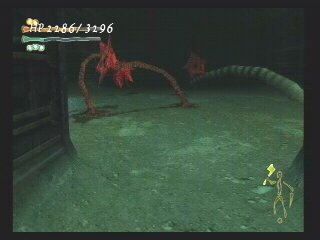
Once there, follow the corridor around the corner to a dead end. Search the wall and a secret door will open. You will be in a room with a three Watcher Plants and a dead body on the floor. Kill the plants, search the body for a Cune and pick up a Knight Helmet from the floor. If you haven't put any equipment away at this point you will be overweight; so you need to find the closest Shop and get rid of some equipment. Exit this room via the only visible corridor. As you approach the next room, a root crashes through the wall and lands in front of you. Be careful not to get hit by it. Walk around the root and search the dead body for a Cune. Go out the door and then up the long, winding corridor (map point C) until you reach a dead end. You should be used to dead ends by now. Search the wall and a secret door will open. You will be in a room with a Watcher Plant and two Mutant Gapus.


Destroy them and search the dead body for a Bullet Clip. Do not jump or fall down the large hole next to the body. You won't die if you do so, but you will land on the lower floor and then have to make your way up here again. There are two possible ways out of this room - a door to the right and a corridor on the left. Take the corridor; it leads to a room with two Watcher Plants. Destroy them and take the corridor on the left from where you came in to exit this room. Follow it until you reach a Save Point and Shop Room. Put some equipment away now and save your game. The door closest to the Shop leads to the Cliff Area. We'll go there later.

For now, go back the way you came to the room with a large hole in the floor. This time take the door next to the body and follow the corridor to a room with four or five Watcher Plants. If you were to exit this room via the door on the opposite side from where you came in, you would be back in a room you were in before. But since we have already been there, there is no need to go there. Instead, search the wall on the left side from where you entered. You should be able to see a section of wall that looks a bit different than the rest. A secret door is there. Open the door and follow the corridor to two poison pods up ahead.


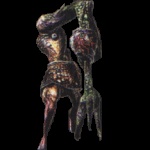
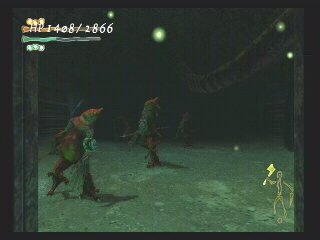
Destroy them and continue until you get to the "Central Room" once again. Turn left along the ledge and follow it up, searching the bodies on the way for two Cunes. Pick up a third Cune from the floor and go across the bridge to a small room with a ladder (map point D). Go up the ladder and exit out the door. You will be in a room with a Watcher Plant and three of a new kind of enemy - a powerful Mutant Humanoid. They have a long reach; so be careful. Destroy them one at a time and make sure you pick up anything they might drop. Pick up the Cune from the floor and search the body for an Anti-Paralytic.


Turn around and face the three doors next to each other. The middle door is the one you just came in. The door on the left leads to a blocked corridor; so you'll want to take the door on the right. Do so and follow the corridor to another room that is blocked by poison pods. Destroy them and search the wall on the left. You will find a secret door that leads to small room with two Watcher Plants and two Mutant Humanoids. Clear the room and get the weapons on the floor next to the bodies.


Look at the wall to the right of the door. There is another secret door there. Open it and go in the corridor. It will take you to a room full of bullets scattered around a dead body. A good thing because by now I had run out of most of my bullets! Destroy the two poison pods in the room and then pick up all of the bullets. Open the door to the left of where you came in and pick up a short mace from the floor. Now go back to the room and across from where you came in you will find another secret door. It leads to a dead body and a Super Blackhawk lying on the floor. Pick up the gun and search the body for a dark Soul Pod.

Go back the way you came until you are back in the room with a door on the right and a corridor on the left (the same one that was blocked by the two poison pods). Take the corridor and follow it, destroying the poison pods along the way. Search the dead body for a Cune and continue to a room with three more poison pods and a Dark Flower which is covering a hole in the ground. Destroy the poison pods and the flower. Search the chests for a set of gloves, a ring, a Divine Vessel and a Healing Potion. There is also a Magic Potion on the dead body; so make sure you get that. Now jump down the hole (map point E).
***A word of warning: The first time I did so, for some strange reason I got stuck and died when I jumped while facing down.***
You will land in a corridor you have been in before. Go down the corridor and through the door into a room. You have been in that room before; so destroy any respawned creatures and continue on through the other door until you are back in the Save Point and Repair Room (map point B). Jump down the hole in the ground, go back to the ladder and then climb down to the corridor that leads to another ladder. Climb up the ladder and go all the way back to where you found the dead body with a Saber stuck through it. This time take the corridor that leads to the left. That is the corridor we ignored before.


Open the door and you will be in the "Central Room" again. Destroy any creatures you find along the ledge and go up to another door on your left. Follow the corridor, search the body for a Symbol of Elements and continue to the next room which has three Mutant Hyenas and two Watcher Plants towards the back. Clear the room and go down the corridor to the left of where you came in, ignoring the door on the right. That door leads to a blocked corridor.
You will come to a Save Point and Shop Room. Before you save your game, go through the door straight across from where you entered and pick up a long coat from the floor. Now go back and save your game, go through the door straight across from the Save Point to enter the Waterfall Area.


 Equipment
  Creatures